Lumière
A darkroom in the browser. Open a photograph, choose the film it was shot on, develop it in the developer and at the temperature you would have used, print it on a graded paper, tone the print, and dodge and burn in stops.
It develops your scanned negatives too, inverting them through the curves of the stock they were actually shot on.
Free, and free software. Bring your own RAW files — there is nothing to sign up for and nothing to upload.
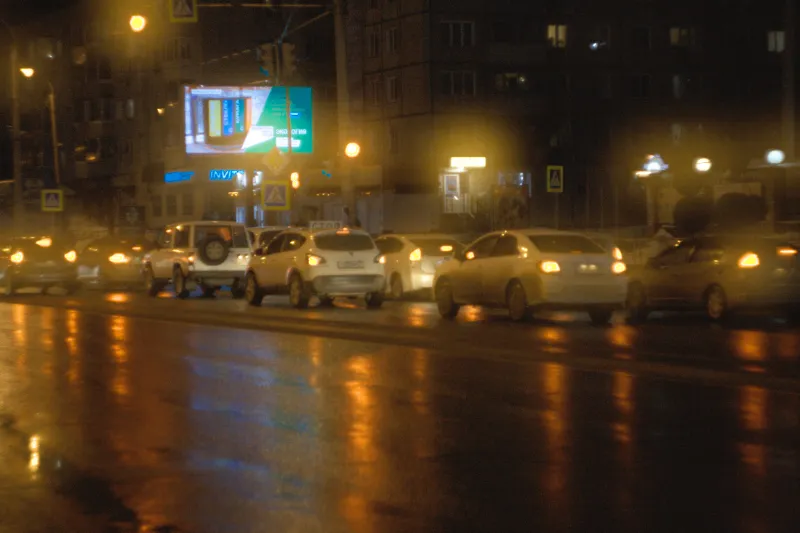
Nowhere. Everything happens on your own machine, inside the browser: no account, no cloud, and no network call anywhere in the application. Your photographs and your edits never leave it.
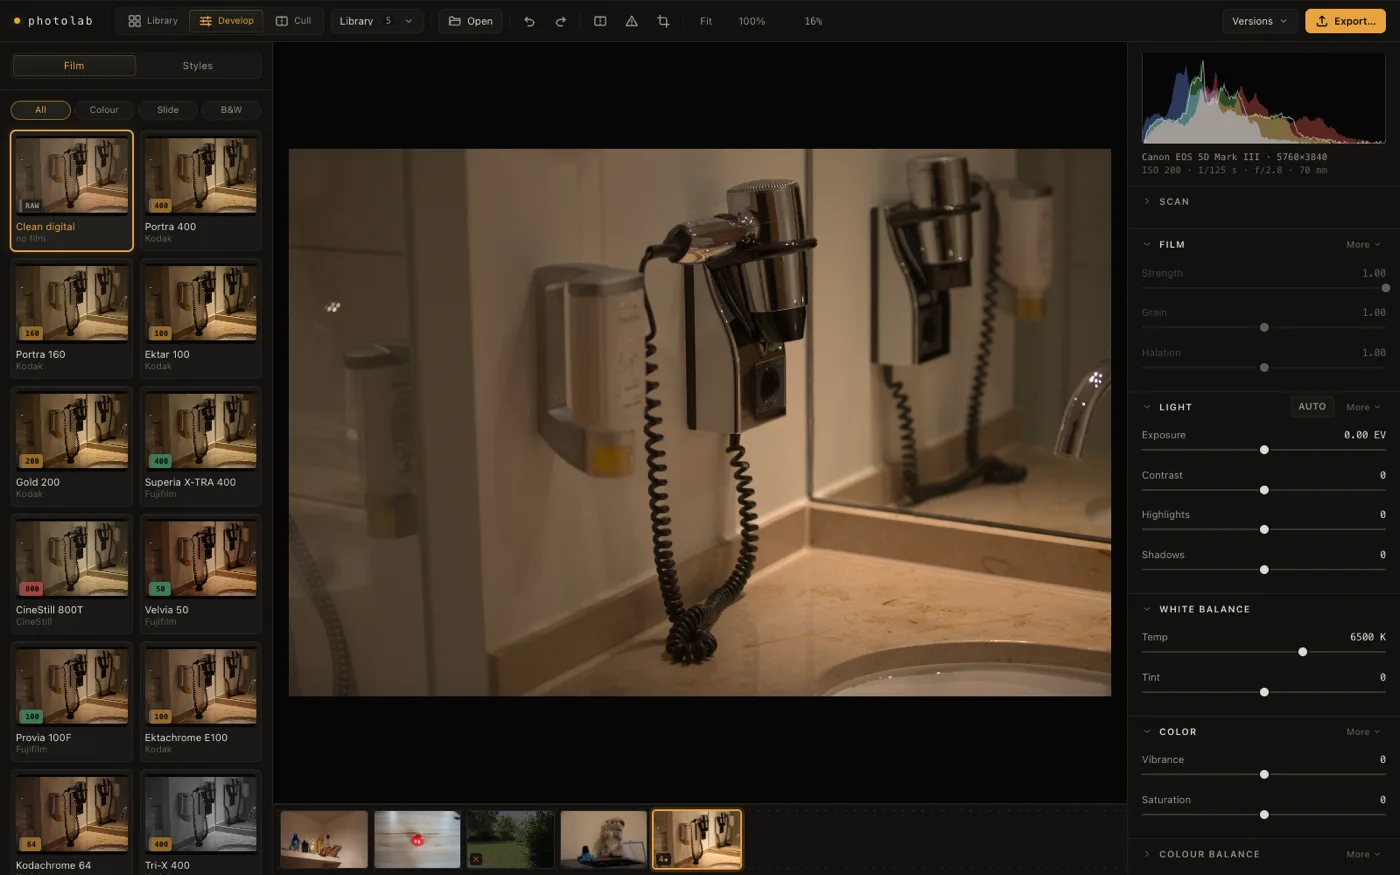
Your files
It opens what came out of the camera
Canon CR2 and CR3 including the lossy CRAW variant, Nikon NEF, and Adobe DNG including Apple ProRAW are opened and checked against real files from real cameras. Sony ARW and Fujifilm RAF open through the same decoder, but no test covers them, so they are not claimed as verified. TIFF and JPEG scans go into the scanning path.
The first time you open a frame you get a photograph, not a flat grey slab waiting to be worked on: the automatic tone runs once, as a single undo step you can take back. From there every control redraws the whole frame while you drag it.
The film
17 stocks
grain
halation
expiry
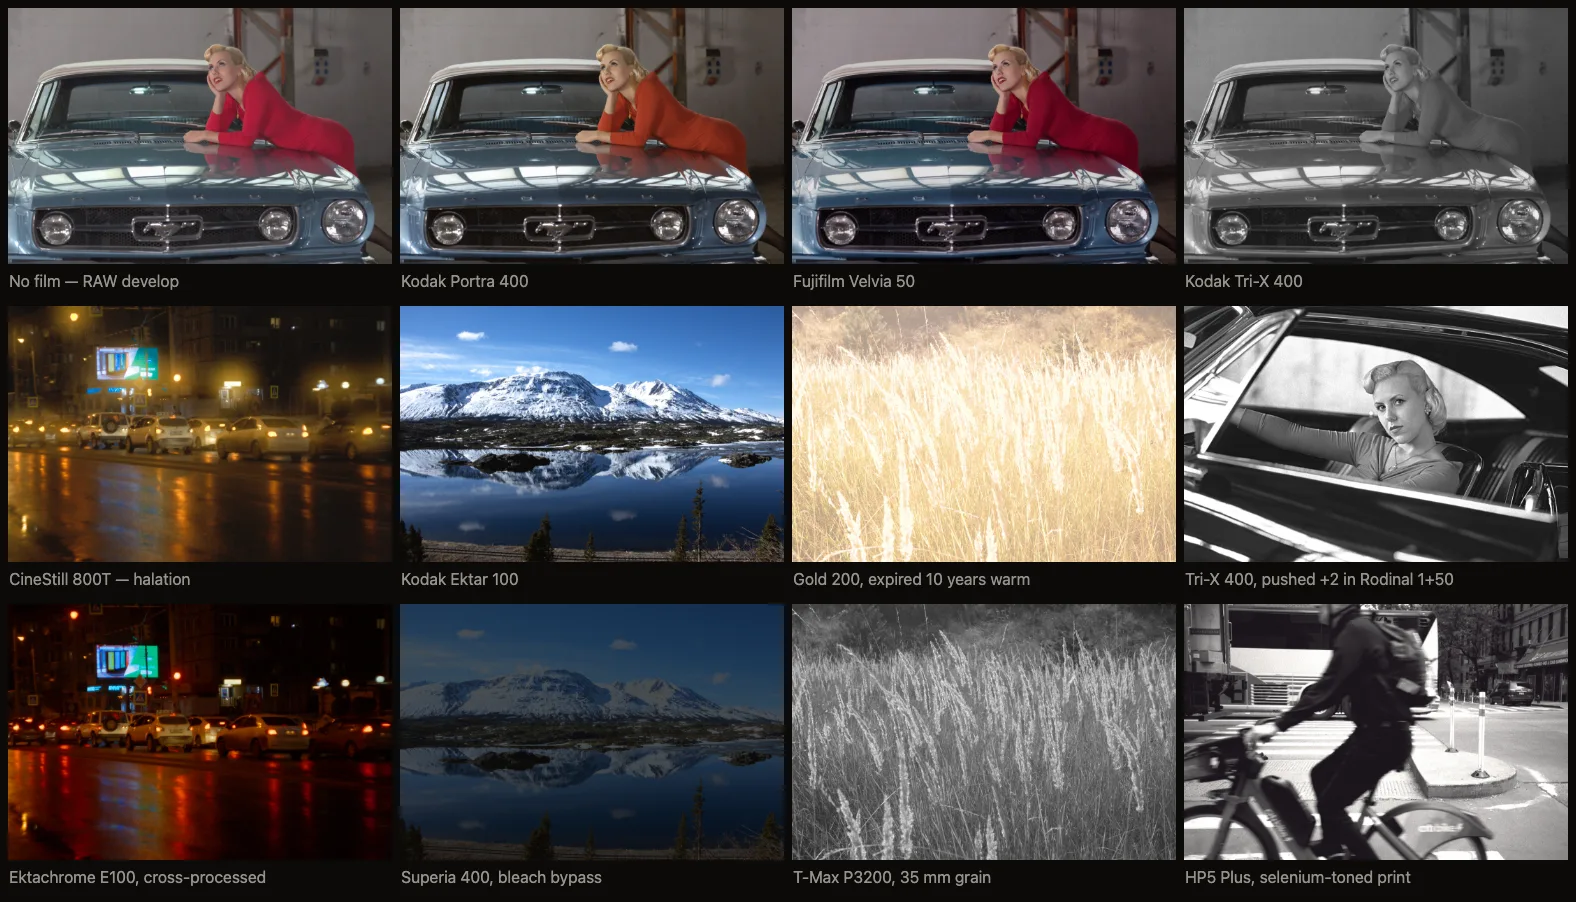
Seventeen stocks, each with its own curves
Portra 400 and 160, Ektar 100, Gold 200, Superia X-TRA 400, CineStill 800T, Velvia 50, Provia 100F, Ektachrome E100, Kodachrome 64, Tri-X 400, HP5 Plus 400, FP4 Plus 125, Pan F Plus 50, Delta 3200, T-Max P3200 and Neopan 100 Acros.
A stock here is not a colour preset. It is the density-against-log-exposure curves the manufacturer publishes, one per layer, with that stock's own toe, straight section and shoulder; its spectral response, which is why a red bird and a green leaf do not land where a luminance conversion would put them on black-and-white film; its grain; and its halation. Change the film and all of that changes together, because it is one piece of film and not a stack of sliders.
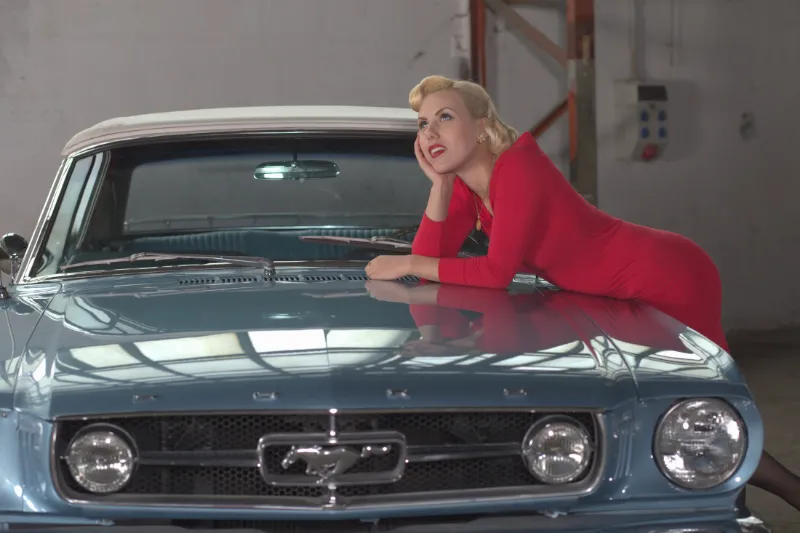
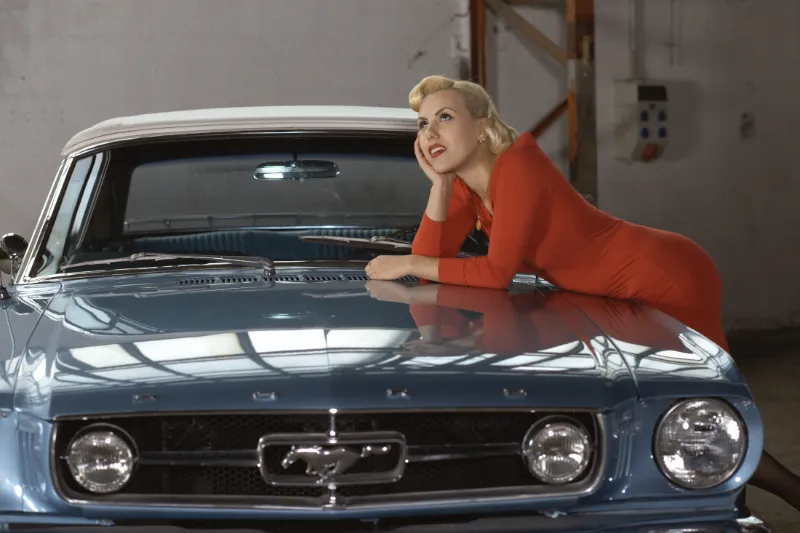
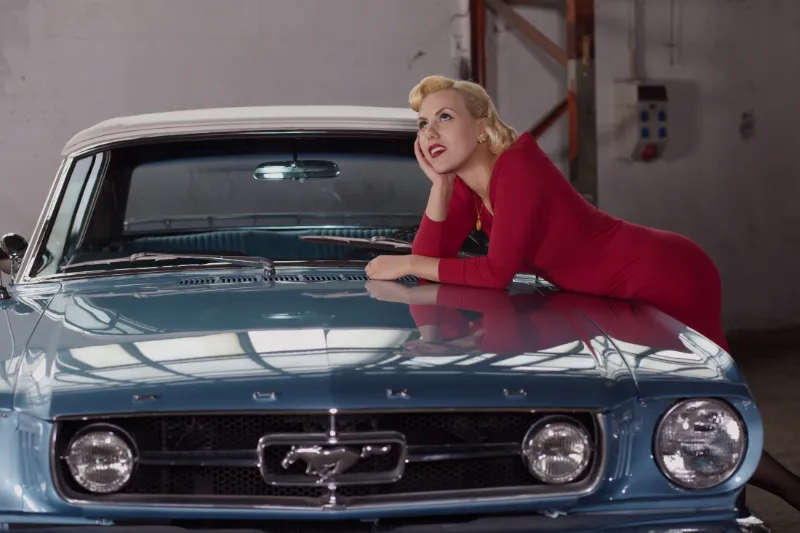
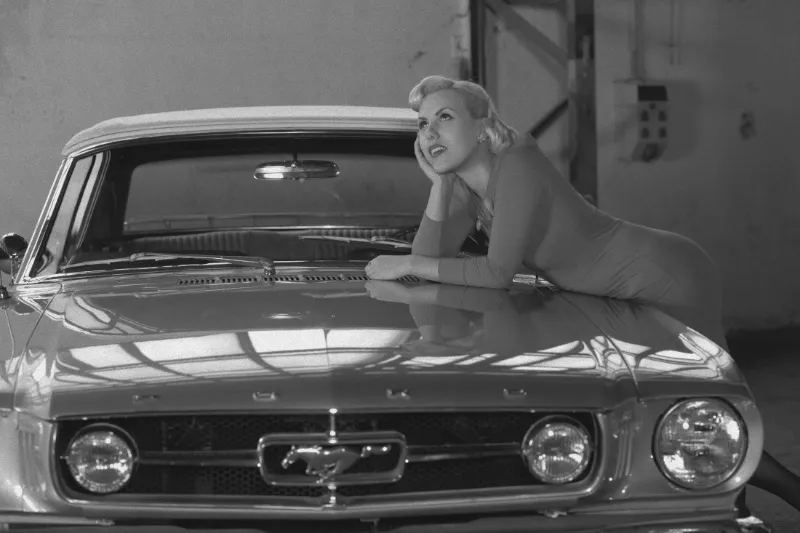
One frame, four films. Nothing else was touched between them.
Grain you can judge at 100 %
The grain is not a texture laid over the picture. It is computed from the crystal structure the stock's published granularity implies: crystals develop or they do not, density is how much of the frame they cover, and the grain you see in a given patch is the count of them under it. That is why it gets finer as the picture gets denser, why it behaves differently on 35 mm, 120 and 4×5, and why pushing makes it coarser without anyone deciding by how much.
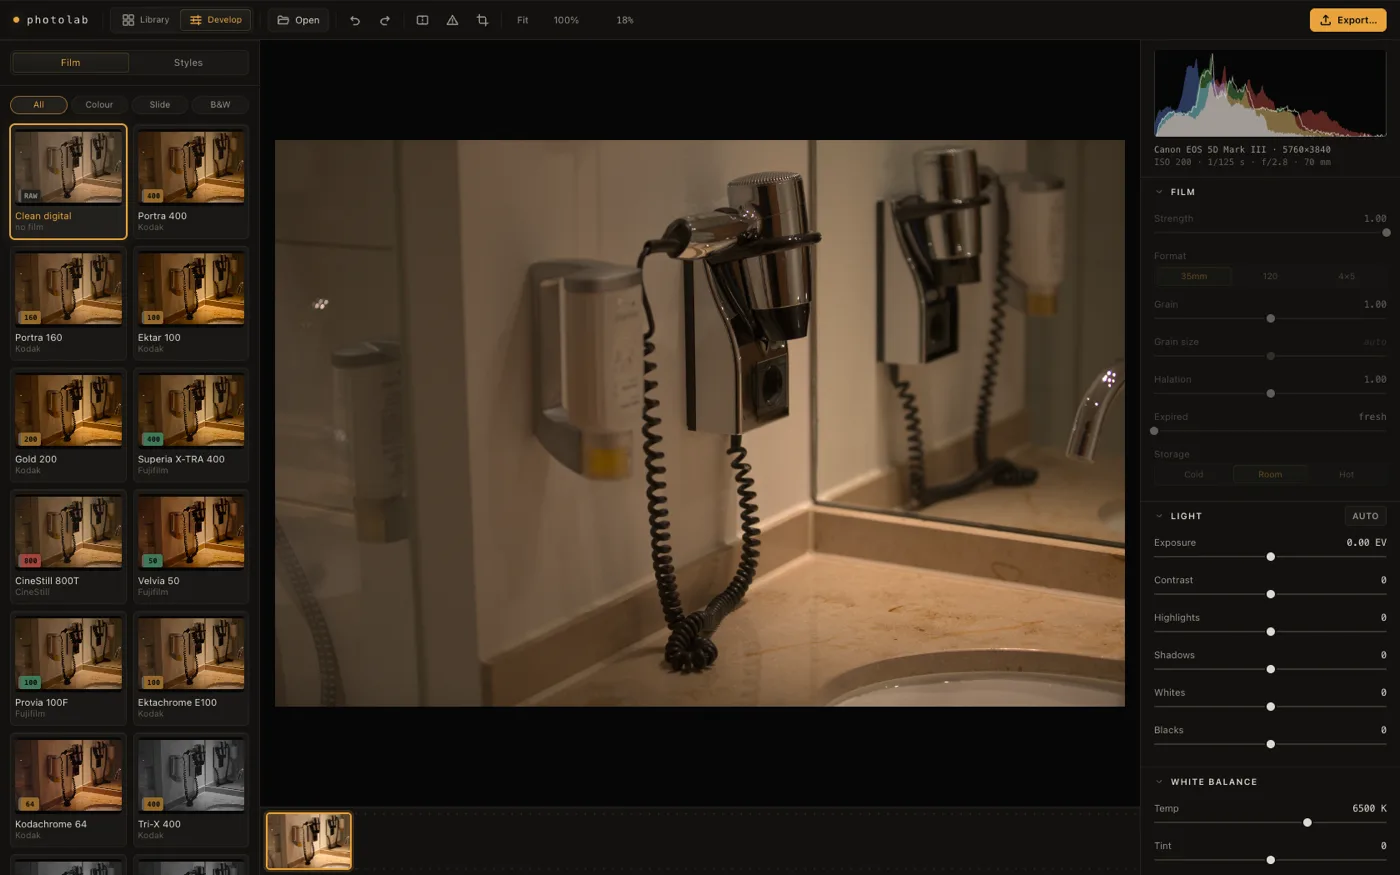
The film shelf renders your own photograph through every stock, so you are choosing by looking at your picture rather than at a swatch. Hovering a tile opens a 1:1 inset, which is where grain and structure are actually decided.
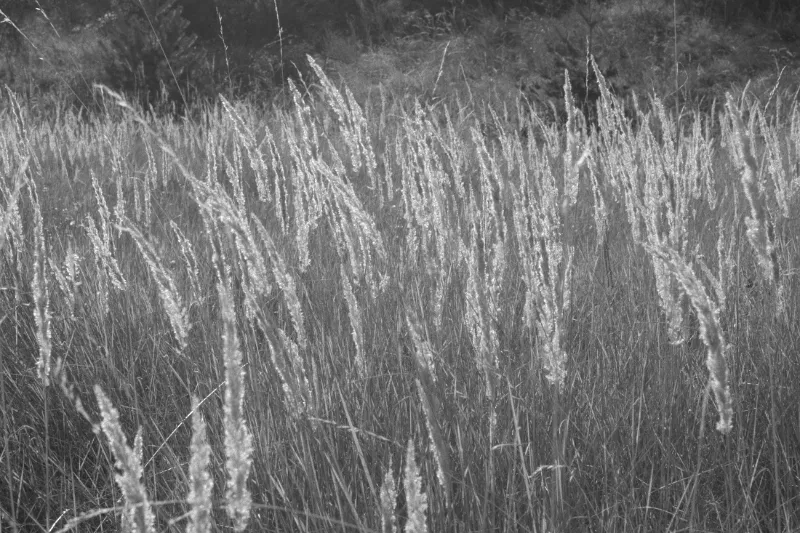
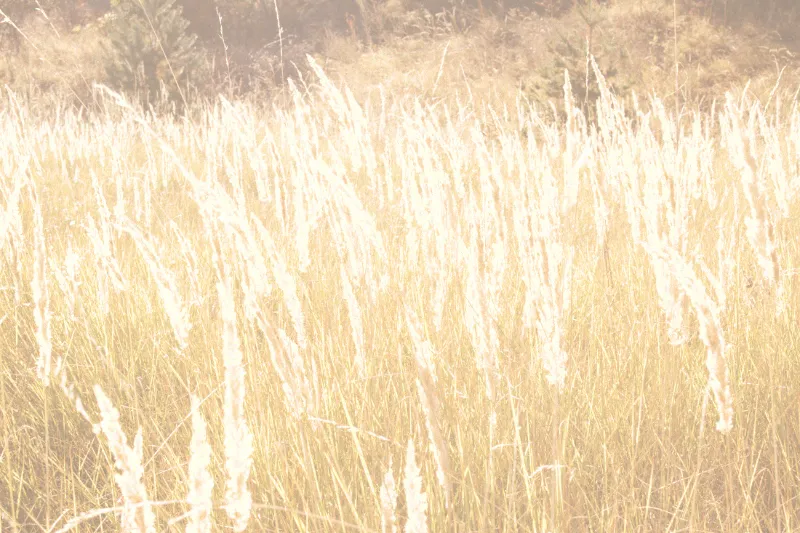
Expired film is a date and a storage temperature, not a "vintage" slider: fog grows, contrast goes, and the three dye layers fade at different rates, which is where the cast comes from.
The shape behind it
Everything else on this page is an operation on this curve. Developing longer steepens its straight section and lifts its foot. A paper grade is a second curve applied to the first. Printing a negative is reading it backwards, and so is developing a scan — which is why one program can do both.
The developing
8 developers
push and pull
temperature
agitation
A push is a development time, not a contrast slider
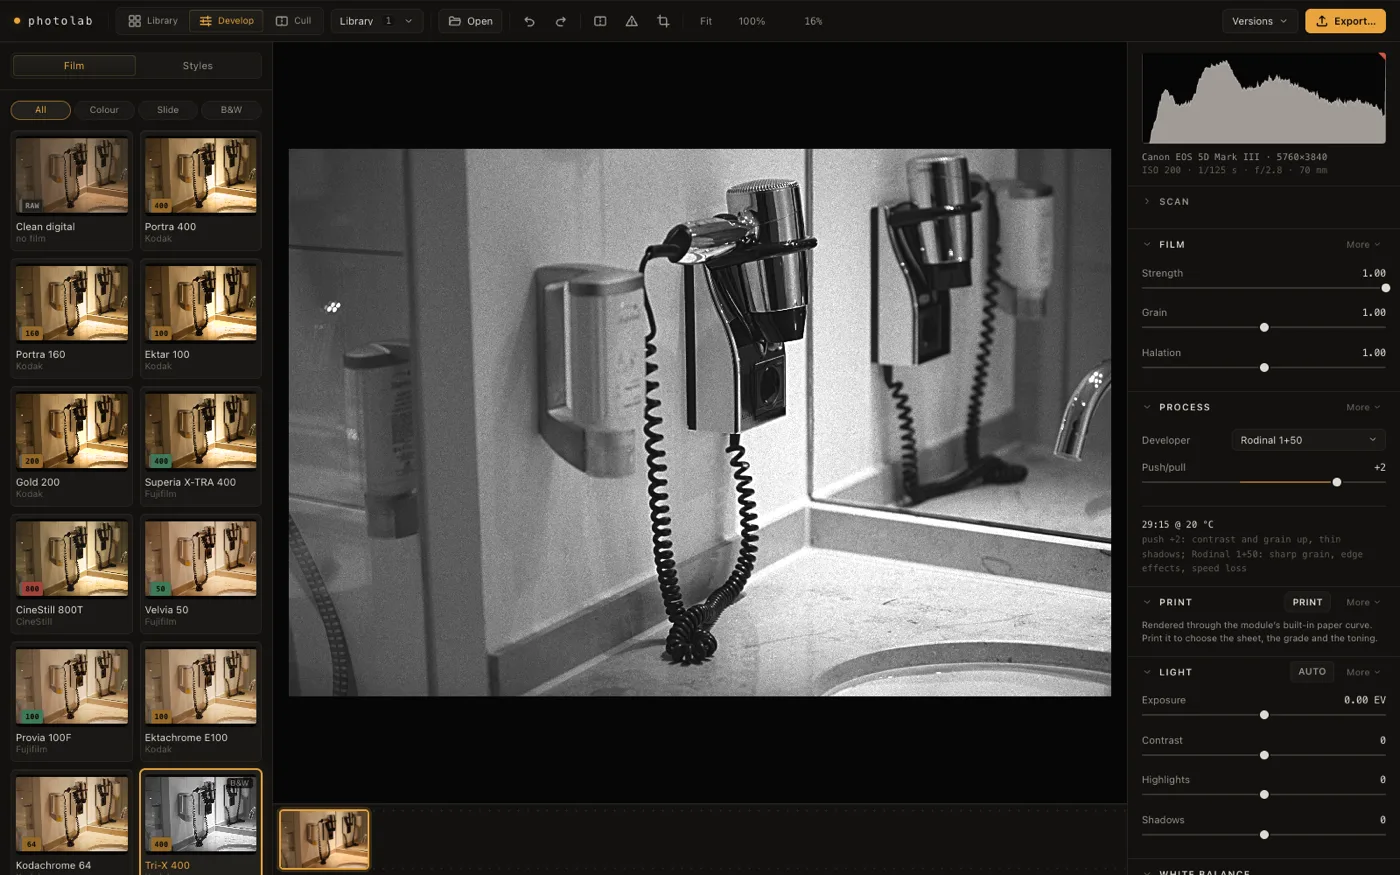
Choose the developer: D-76 stock or 1+1, XTOL, Rodinal 1+25 or 1+50, HC-110 dilution B, Ilford DD-X 1+4, or Rodinal stand 1+100. Choose the temperature and the agitation. Push or pull. The panel tells you the development time that combination comes to, because that is what you would have set on the timer.
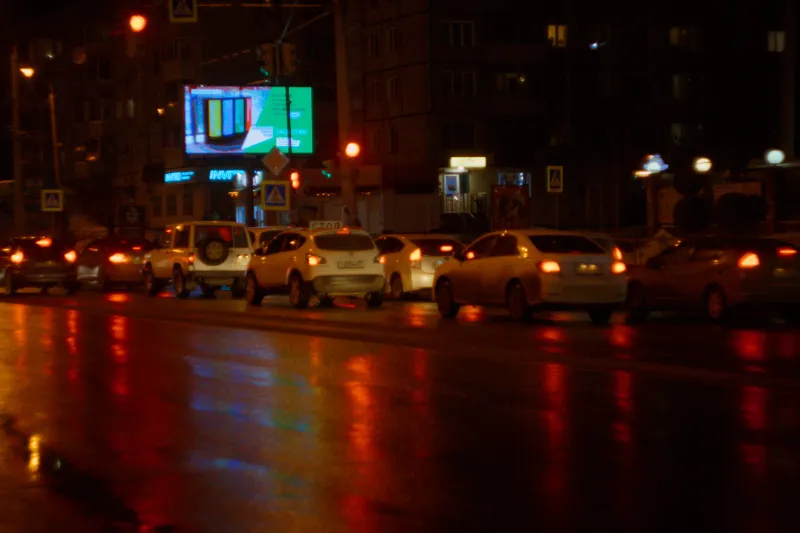
What comes back behaves like the roll would have. A push lifts the midtones and highlights and raises the fog, but the shadows barely move — you gain far less real speed than the stops you pushed, which is the whole reason a pushed negative looks the way it does. Rodinal gives you sharp, gritty grain; D-76 and XTOL dissolve it. Stand development compresses the highlights and draws Mackie lines along the edges. Warmer chemistry works faster: the rate roughly doubles for every 9 °C.
Colour has its own accidents. Run E-6 film in C-41 and it develops on substituted, steeper curves with each layer's toe and shoulder shifted in opposite directions, so you get the crossover itself rather than a preset that imitates it. Let a C-41 or E-6 bath drift off temperature and the layers' contrasts drift apart, and the shadows and highlights go opposite ways. Skip the bleach and the retained silver sits on top of the dye image as extra density.
The print
paper grades
dodging and burning
toning
spotting
A dodge is timed in stops
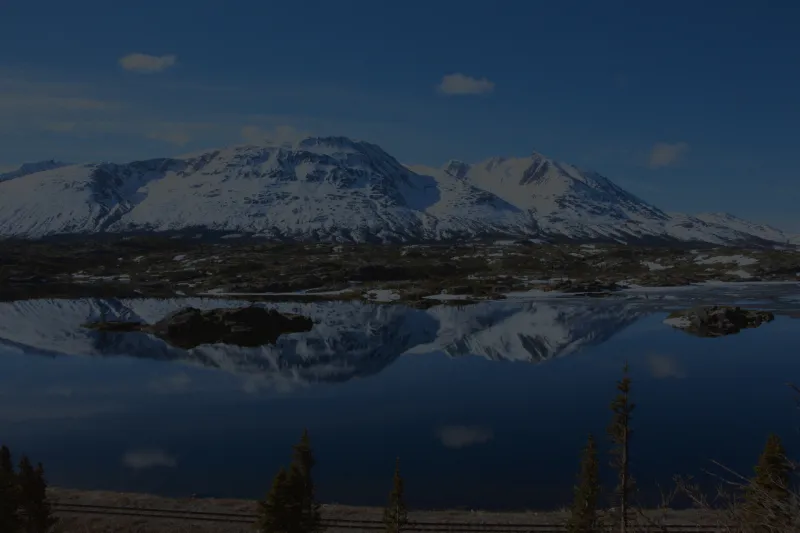
The negative is only half of it. Choose a multigrade paper grade from 00 to 5 and it is the real grade curve, not a contrast slider dressed up. Choose fibre or resin-coated and the base white and the depth of the blacks change with it. Set the print exposure and it is exposure, in stops. Turn on dry-down and you see the print as it will look dry rather than as it looks wet in the tray. Slides skip the paper entirely; they are positives already.
Tone it. Selenium cools and deepens the blacks and hardly touches the highlights — because it acts on the silver, and the shadows are where the silver is. Sepia works the other way, warming the midtones and lifting the highlights the way bleach-and-redevelop does. Gold cools the highlights. Split between two and you get the split, computed on the print curve rather than painted over the picture.
Dodge and burn with radial, linear, brush and luminosity-range masks — the burning card, the graduated sky burn, the freehand dodge, and "only the highlights" — added, subtracted or intersected, up to eight of them at once. Each one carries its own exposure in stops, plus contrast, highlights and shadows, white balance, saturation, clarity and its own paper grade. And spot the dust: click a speck, and the patch it borrows from is chosen for you. Spots are kept as marks on the frame, so re-cropping or re-exporting does not lose them.
Scanned negatives
inversion
orange mask
camera and flatbed
Your negatives, developed rather than auto-levelled
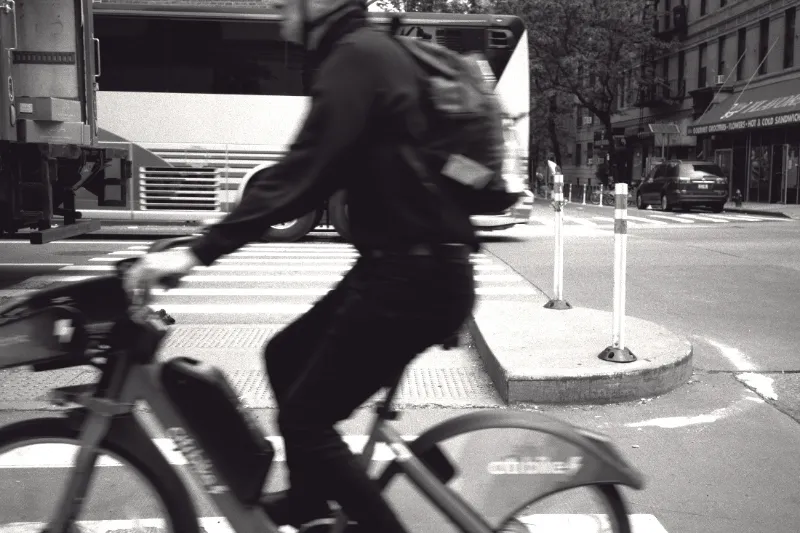
Inverting a colour negative well is the hard part of shooting film today, and it is usually done by fighting auto-levels until it looks right. Lumière does it the other way round: tell it which stock the roll was, and it inverts through that stock's own curves. The orange mask is measured off the rebate or an unexposed frame edge and taken out as the density it is, rather than guessed at with a white balance.
What lands is a photograph in the same state as a digital capture, so the rest of the darkroom applies to it unchanged: choose the paper, the grade and the toner for your own negative, dodge and burn it, spot it. Camera scans and flatbed scans are handled separately. The inversion is a setting on the photograph, so it is undoable, it is remembered, and it comes out identical at full export size.
The shoot
light table
culling
catalogs
export
A light table that keeps up with the take
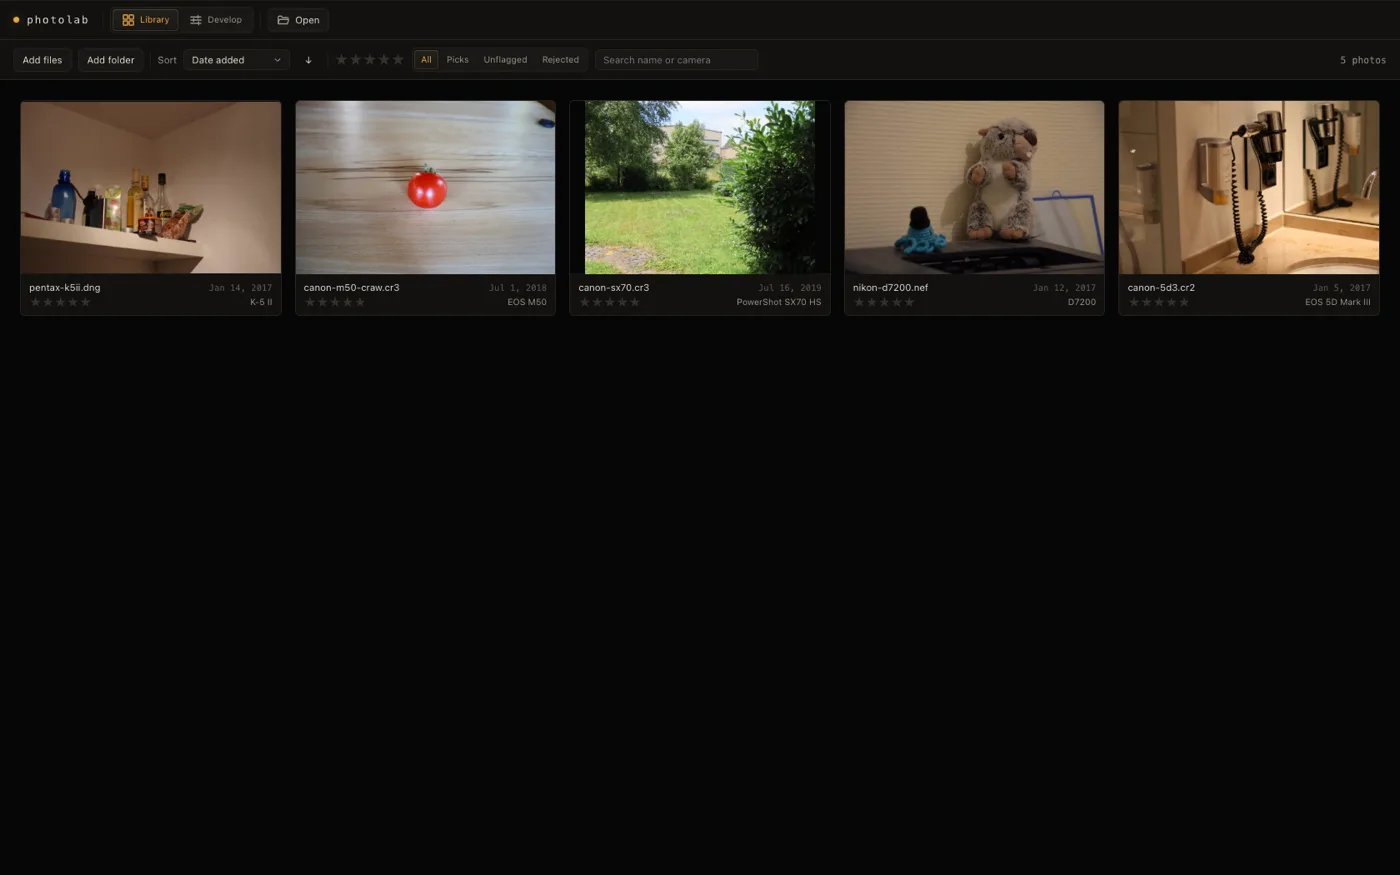
Culling is full-screen and keyboard-only, and it moves between frames in about eight milliseconds, because it never opens the RAW file at all — it reads the preview the camera already wrote. When you want to check focus, a loupe opens the actual pixels for the part you are looking at and nothing else.
Around it: stars, picks and rejects, colour labels and keywords, several catalogs, variants of a frame and named snapshots inside one, smart albums, batch rating and batch export, and contact sheets printed through the same path as a single file. Ten thousand photographs sort and filter without a pause.
Your work is not held hostage. Every photograph's settings are also written next to the RAW file as plain readable text, so a lost catalog is rebuilt by pointing the app back at the folder — that has been tested by deleting a catalog outright and getting everything back. A catalog exports as a single file, with or without the originals, and reattaches to the pictures wherever they live on the next machine. Finished work goes out as JPEG, PNG or 16-bit TIFF, cropped, resized, framed, watermarked, with a film rebate if you want one.
Keyboard
- G library · D develop · C crop · A auto tone
- 1–5 rate · 0 clear rating · P pick · X reject · U unflag
- \ hold for before and after · 0 fit · 1 100 % · arrows move between photographs
Getting started
Open it and drop a file on it
There is no installer and no sign-up. Open Lumière, drag a RAW file onto the window, and it is developing. Nothing is uploaded: the file is read off your disk and decoded inside the page.
If you have no RAW files to hand and want to try it anyway, the PIXLS.US raw sample repository publishes files from hundreds of cameras under a public-domain dedication. Four of the six photographs on this page came from there.
Evidence
Measured against the manufacturers' own published numbers
Anyone who has shot film can tell noise from grain at a glance, so claiming to model film is cheap and proving it is not. Kodak, Fujifilm and Ilford publish granularity figures, curve plots and paper ISO ranges. Lumière is rendered and measured against them, and anything that cannot be measured does not get claimed.
The grain matches the stock it says it is
Rendered granularity, measured the way the datasheets measure it — at a density of 1.0 through a 48 µm aperture — lands within 4 % of the published figure for all five stocks tested, and no stock is given a correction of its own to get there.
It is grain, not a noise texture
Real grain is a count of crystals, so its statistics change between a thin part of the negative and a dense one — the skew of the density distribution flips sign. The model does that. The old noise-based code is kept and run on the same patches as a control: it reads +0.489 and +0.549, unchanged by density, which is exactly what a texture does.
The paper grades are grades
Contrast rises by a factor of 3.39 from grade 00 to grade 5, against 3.40 worked out independently from the papers' published ISO range. Fibre and resin-coated differ in black depth by 0.194 density against the 0.20 their datasheets imply.
stops
Scan inversion follows the stock you name
A negative made synthetically from a known stock and then developed as that stock comes back with 0.0004 stops of colour crossover. Develop it as the wrong stock and the crossover is 445 times worse — which is the difference the setting is there to make.
Culling keeps up with you
Median time from one frame to the next in cull mode, straight off the camera's embedded preview, with no RAW file opened at any point.
The rest of the measurements — including the ones that did not come out the way they were meant to — are in the source and numbers below.
Limits
What it does not do yet, and what is still wrong
This is a young program. Everything below is recorded in its changelog and its specifications, and repeated here because a page that leaves it out is describing something else.
-
Cameras
Sony ARW and Fujifilm RAF are not covered by any test. They open through the same decoder as everything else, but only Canon CR2 and CR3 including CRAW, Nikon NEF and Adobe DNG including Apple ProRAW have been checked against real camera files. If you shoot Sony or Fujifilm, try it before you rely on it.
-
Sharpness
Film does not soften the picture yet. Every stock's own resolution falloff is worked out and carried, and the fit reproduces the published curves to better than a percent — but it is not applied to the image, because doing it properly means splitting the develop pass in two. It was left out rather than faked with a blur.
-
Lenses
There is no automatic lens profile. Distortion, chromatic aberration and vignetting can all be corrected by hand and the corrections are good — a line bowed by 10 px straightens to 0.24 px — but the file's metadata only carries the lens name, so nothing can be looked up for you. The panel says so instead of offering an Auto button that does nothing.
-
Halation
CineStill's halo is the wrong shape in the middle. Without an antihalation layer the halo is really a ring, and it is modelled with three centred blurs, which cannot make a ring. Its width and how much light it carries are right; the hollow centre is not there. Every other stock's halo fits to within a thousandth.
-
Colour
The colour of the dyes is reconstructed, not digitised. The spectral sensitivity and dye density curves are fitted to the shape of the published plots rather than traced from them. Moving to them changed every colour photograph in the direction of less saturation, and by more than it should have, which says the model is still missing the way one dye layer inhibits its neighbours. The measurement is locked in the tests so it cannot drift quietly.
-
Speed
Moving to the next frame in develop takes about half a second on a 24 megapixel file (476 ms median), nearly all of it decoding the RAW. The original budget of 250 ms was written before anything had been measured and was never reachable without changing what a switch means, so it was revised to 600 ms in the open rather than dropped. Culling, where the speed actually matters, is 8.3 ms because it never decodes.
-
Export
Very large JPEG exports are memory-hungry. A 98 megapixel JPEG needs around 295 MB while it is being written, because of how baseline JPEG is structured. PNG and TIFF — the ones you would print from — are written a band at a time and are not bounded by memory.
Source and numbers
For anyone who wants to look underneath
Lumière is free software and the whole of it is readable. This part of the page is for people who want to build it, check it, or take it apart.
How it works
RAW decoding is Rust compiled to WebAssembly, around a vendored copy of the rawler decoder patched for the web. Demosaicing is Malvar-He-Cutler; colour goes through the camera's own matrix into linear Rec.2020 and stays floating point to the end of the chain. The develop pipeline is WebGL2, and every control re-runs the whole chain at interactive speed rather than compositing a cached preview.
The film model is a boolean point process: a virtual crystal lattice solved from each stock's published rms granularity (cells of 0.13 to 0.45 µm), Bernoulli development per crystal, and the pixel aperture integrating the field. At real magnifications a cell is a fraction of a pixel, so the renderer draws from that process's exact large-aperture limit; the Monte-Carlo path takes over above 0.35 px cells. The skewness sign-flip in the evidence section above is measured on that Monte-Carlo branch: it proves the model counts crystals, and it is not a description of what a normal render's statistics look like, where a real photograph has no measurable skew either.
Halation is parameterised from the film's construction — total internal reflection at the base-air surface and the position of the antihalation layer — so CineStill's halo comes out 10.1× wider than Portra 400's, carrying 14.2× the energy, from geometry rather than from a per-stock constant. Curve, granularity and spectral data are cited per stock in SOURCES.md, and any value a manufacturer does not publish is marked estimated there rather than presented as data.
The performance budgets, in full
| Benchmark | Measured | Budget | Result |
|---|---|---|---|
| Slider to pixel, 2560 px preview | 8.4 ms | 16 ms | passes |
| Photo to photo in cull mode | 8.3 ms | 100 ms | passes |
| 200 RAW files to browsable thumbnails | 22.9 s | 60 s | passes |
| Catalog list and filter over 10 000 entries | 5.9 ms | 50 ms | passes |
| Photo to photo in develop | 476 ms | 600 ms | inside a budget revised from 250 ms |
Medians over repeated runs on an Apple M5 Pro, headless Chrome on ANGLE
Metal, against the real application, real RAW files and a real IndexedDB
catalog. tools/bench.mjs prints the distribution and exits
non-zero on any miss.
Building it
Requirements: Rust with the wasm32-unknown-unknown target,
wasm-bindgen-cli 0.2.122, and Node 20 or newer.
# build the decoder into web/src/wasm
bash crates/rawcore/build.sh
cd web
npm install
npm run dev
Checking it
Every number on this page comes out of one of these. The end-to-end
harness builds the production bundle, serves it, drives headless Chrome
and asserts on rendered pixels; it needs a few RAW files in
samples/ and names the ones it expects.
cargo test -p rawcore --release
node web/src/film/selftest.ts
node tools/verify.mjs
node tools/bench.mjs
Where things live
- crates/rawcore — decode, demosaic, colour, encoders
- third_party/rawler — the vendored RAW decoder
- web/src/gpu — the WebGL2 develop pipeline
- web/src/film — stocks, chemistry, paper, LUTs
- web/src/scan — negative inversion
- docs/ — the specifications the code is written against
It runs in the browser you already have
No account, no upload, no network call. Bring a photograph and develop it.